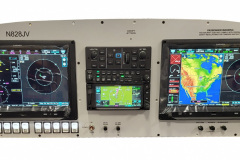
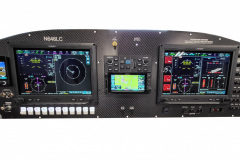
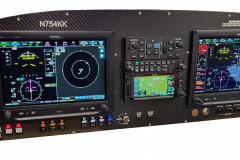
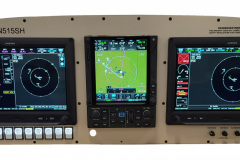
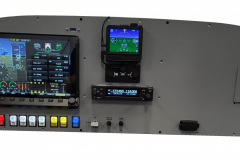
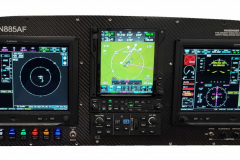
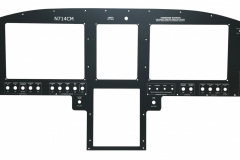
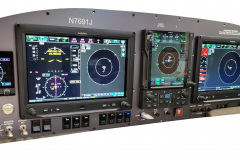
RV-14
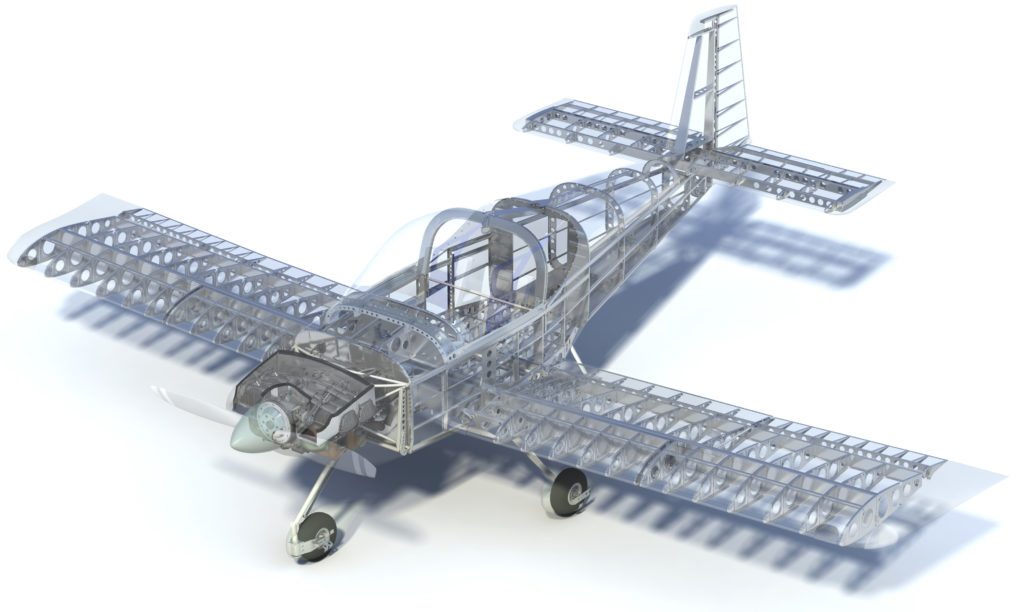
SteinAir is a proud affiliate of the RV14 production. We currently make the Vans harnesses for the RV14 assembly. We have been working with Vans, Garmin, and Dynon for many years.
We make the fuselage harness that comes with the RV14 kit and when we build custom instrument panels for the 14 we design the wiring coming from the panel to integrate with our fuselage harness. The remaining connections for the builder with be power and ground wires, antennas, aircraft lights, stick grips, etc.
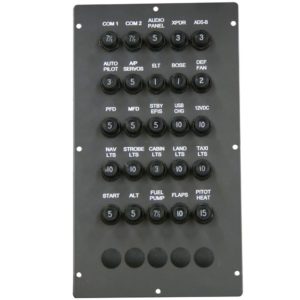
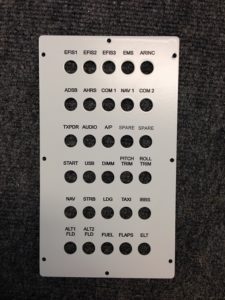
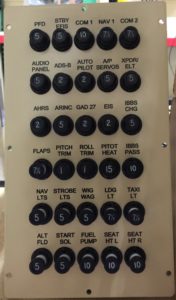
We also sell a circuit breaker panel which has been popular for builders that do not wish to use the RV14’s fuse panel.
With countless RV14 instrument panel designs under our belt we can assist you in building a new panel. Here is our process for instrument panel builds:
Equipment
- Deciding which systems and equipment fit your needs (and wants!)
Design
- We design your panel with you. We will send you PDF revisions of your design until we reach an “approved design”.
Metal Fabrication / Paint / Engraving
- We will cut the panel and do all the metal fabrication – mount the rails, nutplates, rivets, etc.
- Then we will have the panel painted at our local auto body shop.
- Then the panel will be laser engraved per the latest “approved” design.
Wiring
- We will make wiring schematic for all of the avionics, switches, and circuit protection (going to or from the panel only).
- We will build up the harnesses and make all of the interconnections between instruments.
- We will provide flying lead for things like heated pitot, interior lighting, exterior lighting, servos, magnetometers, etc.
- All wires will be labeled and color-coded per the wiring diagram – which will also be provided with your panel.
Configuration and checkout procedures
- We will power up the system here on the bench at SteinAir.
- We will configure as much as possible between instruments but it will be the responsibility of the builder to add final configurations, such as aircraft specific settings and the manufacturer’s recommended settings. All of this information can be found in the manufacturer’s installation manuals.
- Once we are satisfied everything is working here on the bench we will take photographs and get our documentation together before wrapping everything together for shipping.
Final Invoice and Shipping
- We will put together the final bill for parts and labor. This is when we will take ALL your money ; )
- Then we will pack up the panel and equipment securely in a custom crate and send the panel with insurance via UPS 3 Day.
- You will be excited with anticipation for 3 days until the crate arrives.
- Open the crate and enjoy!
